Tuesday, February 24, 2015

Marbled Polymer Clay Statement Ring

Hey, y'all!  As promised last week, today I'm sharing another polymer clay jewelry tutorial with you. Last week when I was playing with my clay, I ended up mixing some colors and creating a fun marbled clay that I used with some molds to create a pretty statement ring.  I'm calling it my Marbled Clay Statement Ring.
Marbled Statement Ring--Make this pretty ring using polymer clay! www.pitterandglink.com
 To create your own ring, you'll need the following supplies:
  • Polymer Clay (several different shades)
  • Clay Mold (I used a Mod Melt Mold)
  • Clay Knife
  • Clay Glaze
  • Paint Brush
  • Super Glue or E6000
  • Ring Blank
  • Oven Safe Dish for Baking
  • Oven

Marbled Clay Supplies www.pitterandglink.com
I have a huge pack of polymer clay that I bought a bajillion years ago.  Whenever the mood strikes, I pull it out to get my craft on.  To begin creating my ring, I selected a few different clays from the same color family.  I also pulled out my one of my Mod Melt molds.  Mold Melt molds are great for clay because they're rubber, and you can easily remove your clay from the mold without messing it up.
How To Marble Clay--Step One www.pitterandglink.com
I used my clay knife to cut a bit of polymer clay from each block.  I cut the most clay from the emerald block and added little bits of the different colors on top of it.  I rolled all the clay up into a tube.
How To Marble Clay--Step Two www.pitterandglink.com
I then rolled the tube into a clay snake.
How To Marble Clay--Step Three www.pitterandglink.com
I cut the snake into a few different pieces and stuck them together.
How To Marble Clay--Step Four www.pitterandglink.com
I then held the clay perpendicular to my hand, smooshed it down flat and kneaded it until I got a pretty marbled consistency.  (Please note that this is not an exact science, and it's supposed to be fun, so mix your clay anyway you'd like.)
How to Make a Marbled Polymer Clay Gem--Use a Mod Melt Mold! pitterandglink.com
Once my clay was sufficiently marbled, I put the side with the prettiest marbling face down into my mold and smooshed the clay into the mold to make sure that it filled all parts of the mold.
How to Make a Marbled Polymer Clay Gem www.pitterandglink.com
I carefully removed the clay from the mold by peeling the mold away from the clay.  (If you try to dig the clay out of the mold, you'll mess it up.)  I had a little excess clay around the clay gem, so I cut it off with my clay knife and smoothed the edges of the clay with my finger.  Because I hate to waste clay, I used my excess clay (not pictured) to create a few more gems.  I then put them on a glass dish that I have designated my "polymer clay baking dish" and baked them in the oven according the clay package directions.
Glaze polymer clay gems for extra shine.  www.pitterandglink.com
Once the clay gems were cooled, I used a paint brush to apply a couple of coats of Sculpey glaze to them to give them a little shine.  I had to let them dry for 24 hours after I applied the glaze.  The it was time to make some jewelry!
Add a ring bank to a polymer clay gem to create a statement ring. pitterandglink.com
To make the statement ring, I simply used super glue to attach a ring blank to the back of my clay gem.  I let the glue dry for about a day.  (You could definitely use E6000 for this project, but that glue has so many warnings on it, I'm scared to use it much.)
Marbled Statement Ring--Would you believe this was made with polymer clay?! pitterandglink.com
Isn't my new statement ring fun?!
A Trendy Marbled Polymer Clay Statement Ring www.pitterandglink.com
It's big and chunky and full of marbled goodness!  And guess what?  I even made myself a pair of matching earrings using the pearl-shaped gems, super glue, and earring posts.
Marbled Polymer Clay Earrings--These dainty earrings are easy to make! pitterandglink.com
Now do you want to play with polymer clay too?  Buy yourself some (or take out the clay that you haven't used in forever) and make yourself some pretty jewelry.  If you do, please share it with me via Facebook, Twitter, or Instagram.  I'd love to see your creations!
Related Posts:
Mold Melt Rings

Thursday, July 18, 2013

{Mod Melt Rings}

Hey, y'all!  Have you heard of Mod Podge's new Mod Melts?  There these glue stick type things you use in your glue gun with Mod Molds to create cute little shapes.  I've seen them being used around blogland, and I just knew I had to try them out.  I purchased some from the craft store and created a couple of rings, which I'm going to show you how to make today.
There are two types of Mod Melt sticks you can buy: sea glass or milk glass.  I chose the milk glass ones because I LOVE milk glass.  First, I put one of the Mod Melt sticks in my high temp glue gun and heated it up.  Then I simply filled the Mod Molds with the hot glue.  
When doing this, I made sure to push the Mod Melt substance into all the nooks and crannies of the mold.  After ten minutes of cooling, I popped out the shapes.  It's really hard to get every shape perfect.  It seems inevitable that you will get at least one shape with a little bit of missing detail.  I chose the one I liked the best to make my ring from.
I love the milk glass look of the Mod Melt sticks, but I decided to completely paint one of my rings.
I painted the blue/mint one with a base color, and then I used different colors and a tiny paint brush to make the little flowers and leaves pop.  For the other ring, I left the base of the shape the milk glass white and just painted the flowers and vines.
When I finished all the painting, I chose a ring blank to use for my ring.  I used fine grit sand paper to scuff up the top of my ring blank and the bottom of my Mod Melt shape.  I then used super glue to attach the two together, following the directions on the glue package.  After the rings dried, all that was left was the wearing.
I love both of the finished rings, but I love the white and pink one the most.
The rings look really pretty when you wear them.
These would be great as gifts or as favors at a party or shower.  
I can't wait to think of more uses for the Mod Melts I have left over!

Thursday, July 26, 2012

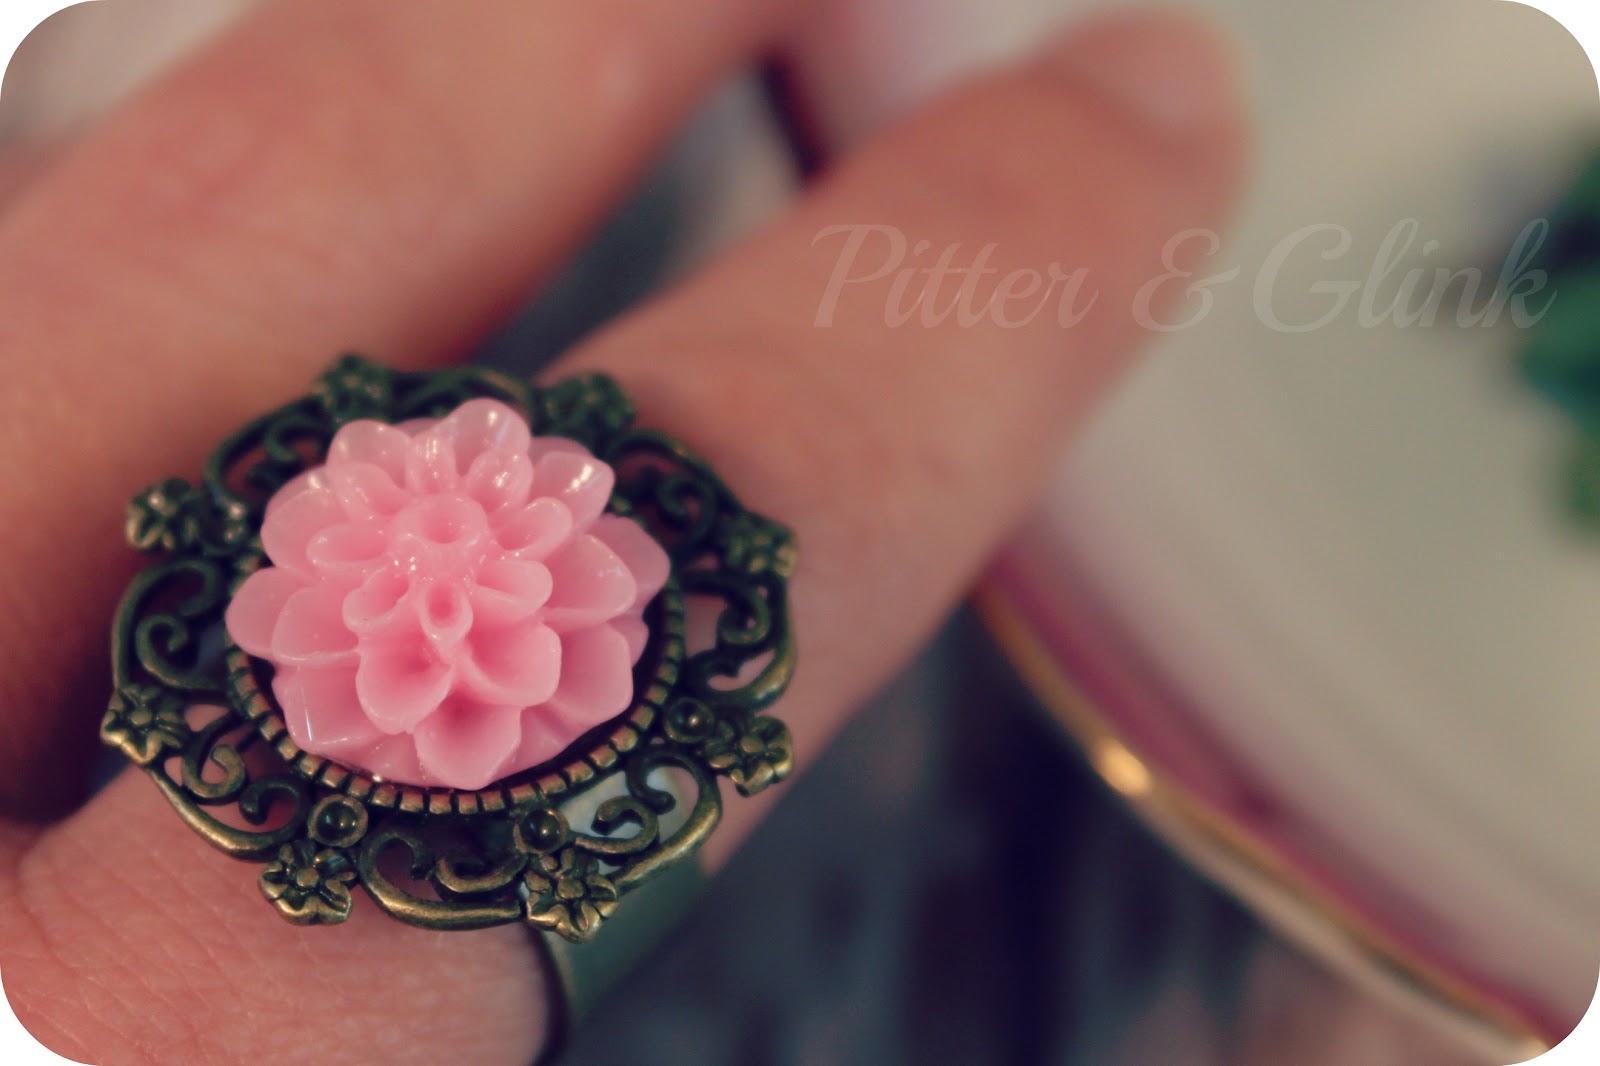
{Simple DIY Flower Ring}

Hey, y'all!  Last Thursday, I shared this post with my great bloggy friend Janiene's readers at A Bunch of Bishops.  Yesterday, I got the sweetest package in the mail from her.


Isn't the blogging community so awesome and supportive?!  I have made so may bloggy friends that take the time out of their own busy schedules to support and encourage me.  So thanks so much, Janiene, and all my other bloggy friends!  I love y'all! <3
Back to the tutorial, though.  Today, I'm posting it on my own blog for those of you who didn't get a chance to check it out.  Get ready for one of the easiest ring tutorials ever!  Here we go...


First, you need to gather a few supplies.


You will need a ring blank, a pendant tray, a cabochon, and E-600 glue.  I got my pendant trays and cabochons from Pick Your Plum for a steal, but I'm sure there are many other places you can purchase them.


Choose a cabochon to fit in your pendant tray.


Glue the cabochon to the pendant tray and the pendant tray to the ring blank following the E-600 directions.  Be sure to glue in a well-ventilated area, as the directions call for.  Then let your ring dry for the required time.


The last step is to simply enjoy your ring!


You can make different colored rings using different colored cabochons or ring blanks and pendant trays with different metal finishes.


If you're a beginning crafter, this is the perfect project for you.  The ring is SO EASY to make, and once you get your first compliment and are able to say, "Thanks!  I made it," you'll be hooked on crafting for life.  If you're a veteran crafter, well, this is a quick craft to give you a new, fashionable accessory to wear.  Happy crafting!
Photobucket

Thursday, February 9, 2012

{Valentine Rings}

Hello, Ladies!  I have an easy Valentine craft for you today.  Valentine's Day and jewelry go together like peas and carrots.  (Or Forrest and Jenny...)  On Valentine's Day I love to wear red and something with hearts on it.  So this year, I made myself a heart ring to wear.  You can make one for yourself with just a few supplies and a few easy steps.  (There are other tutorials floating around the internet for these, so I just did a short and sweet tutorial for my version.)

Supplies:
Paper
Glass gems
Mod Podge
Ring backs
E-6000