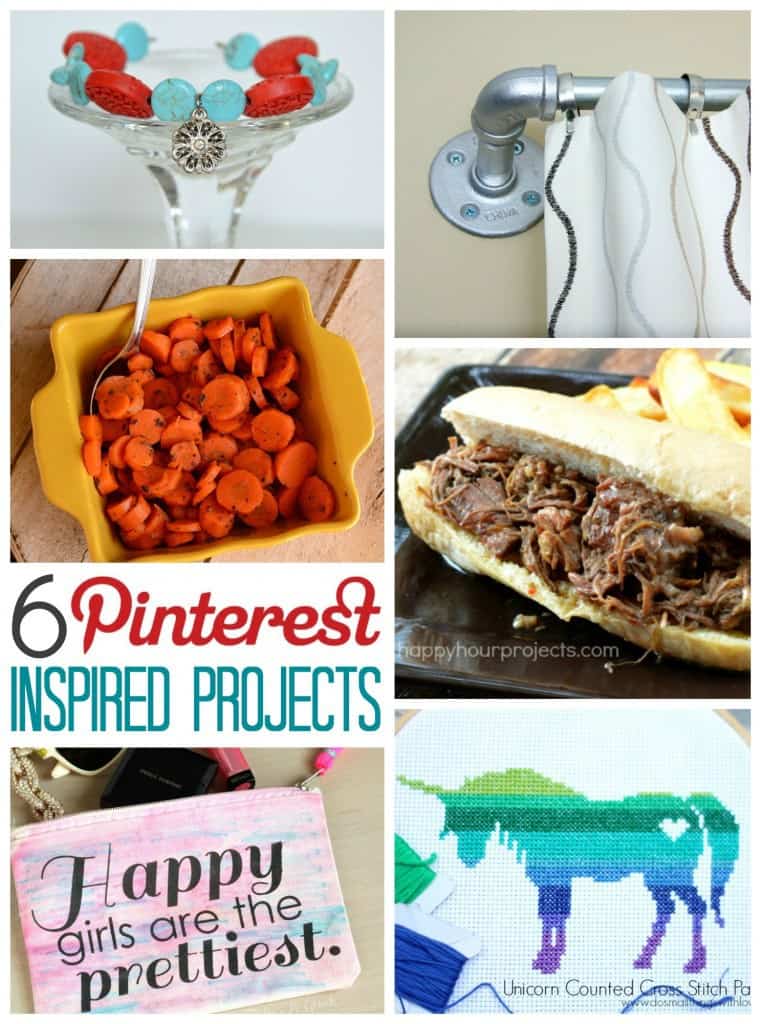
Hey, y'all! Today is that special day of the month where I join My Favorite Bloggers to share a themed project and offer y'all an awesome giveaway! This month's theme is Pinterest-inspired projects, and if you'll hang with me until the end of the post, there will be a $35 Starbucks gift card giveaway to enter. But first, let's talk about my Pinterest-inspired project.
There are many makeup pouch pins on Pinterest, and my favorite comes from Minted Strawberry, which is one of my new blog crushes by the way. There are also LOTS of pins on Pinterest about how to tie dye t-shirts with Sharpies. I was inspired by the one from All Things Thrifty. These tie-dyed t-shirts remind me of watercolors, so I thought a stenciled watercolor pouch would be a great project to create.
I purchased a small pouch from Hobby Lobby to use for this project. The first step of the project is creating the watercolor effect on the pouch.
To do that, you need Sharpies and alcohol, which you should put in a spray bottle. If you only want to color one side of your pouch, you'll need a piece of cardboard or card stock to put inside the pouch as well. (I wanted my front design to bleed onto the back, so I didn't use an insert.)
Begin the watercolor process by scribbling on the bag with the Sharpies. I did horizontal scribbles because that's the look I was going for.
Once you get your bag covered with scribbles, spray it with the alcohol. I soaked mine, but I guess depending on the look you wanted, you could use less. Once the pouch dried, I thought the markers faded a little too much, so I repeated the process.
I did lots of scribbling the second time, as seen in the picture, and then sprayed the bag with the alcohol again. I was happier with the pouch this time and used a hair dryer to dry it completely.
Above is what it looked like when it dried. I think it looks a lot like watercolor, don't you?
Since I wanted to stencil the pouch, I used my handy-dandy Silhouette to cut a stencil of a quote I've always liked from Audrey Hepburn.
I used transfer paper to help adhere the stencil to the pouch.
I then used a dry brush technique to stencil in the design.
While my design was drying, I decided the cherry on top of my bag would be a tassel.
A while back, I bought this braided mason line from Lowe's. I've been dying to use it on something, so I knew that it would be PERFECT for a tassel.
Making a tassel is a lot like making a pom pom. I cut a length of the string and placed it horizontally on a piece of card stock. I wrapped the string around and around vertically until I thought it was enough to make a thick tassel. I cut the string that was leftover off and carefully slid the wrapped string off of the card stock.
I then wrapped a piece of mint embroidery floss around the top of the string and tied it tight. I cut all the loops at the bottom and used a match to very carefully melt the ends of the strings so they wouldn't ravel later. (You can only hold the flame to the end of the strings for like a second; otherwise, the strings will blacken.)
After I tied the tassel to the pouch, my makeup bag was finished. I LOVE the finished pouch.
I think having the Audrey quote on my makeup bag will remind me that it's not really all about the makeup. A smile is really the prettiest thing a girl can put on her face. (Remember how last week, I reminded you that you're perfect just the way you are?) I actually think it would be fun to use this little pouch as a clutch too, and this would be great to give as a gift as well!
So now that you've seen my Pinterest-inspired project, check out the other great Pinterest-inspired projects from some of My Favorite Bloggers!
And now, the moment you've been waiting for...giveaway time! You can enter to win a $35 Starbucks gift card using Rafflecopter below.
a Rafflecopter giveaway
Good luck!


So sweet! A fun way to get a watercolor effect.
ReplyDeleteI have sooooo many things pinned on Pinterest that it would be hard to pick just one!
ReplyDeleteI love that quote! I have an empty canvas just waiting to have a quote painted on it!
ReplyDeleteOh that's so pretty Bethany!
ReplyDeleteAs for what I want to make from Pinterest...pumpkin shakes!
DeleteI would never have guessed that's how you colored this fabric! I LOVE the design, and how clever is that??
ReplyDeleteI recently made a Martha Stewart Peasant dress I had pinned. Thanks for the giveaway!
ReplyDeleteSo cute. Love that neon pink tassel too!
ReplyDeleteYou are so creative! I always love you're posts :D I'll be featuring your project at tomorrow's Create & Share link up! Hope to see you there :) (7:00 PM MST) http://designsbymissmandee.blogspot.com/
ReplyDeleteLOVE this DIY. I've seen this type before and have wanted to try it out, but I absolutely love how your bag turned out. =0)
ReplyDeleteNow following via bloglovin too.
Sorry so late replying to your excellent post, love this. Will make one of my own. Seems ones I find in stores are either too small or too big so will make one like yours, have the supplies except for little pouch. Your bag turned out so pretty, love that it's home made and different. Won't have the quote on it but might put something on it, maybe sew on some beads or something?
ReplyDeleteHave great week. Happy days
i love it ... so cute
ReplyDeleteWhat are the fonts used in this quote? sO pRETTY!
ReplyDelete